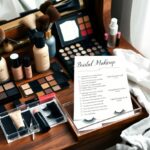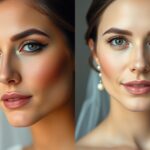
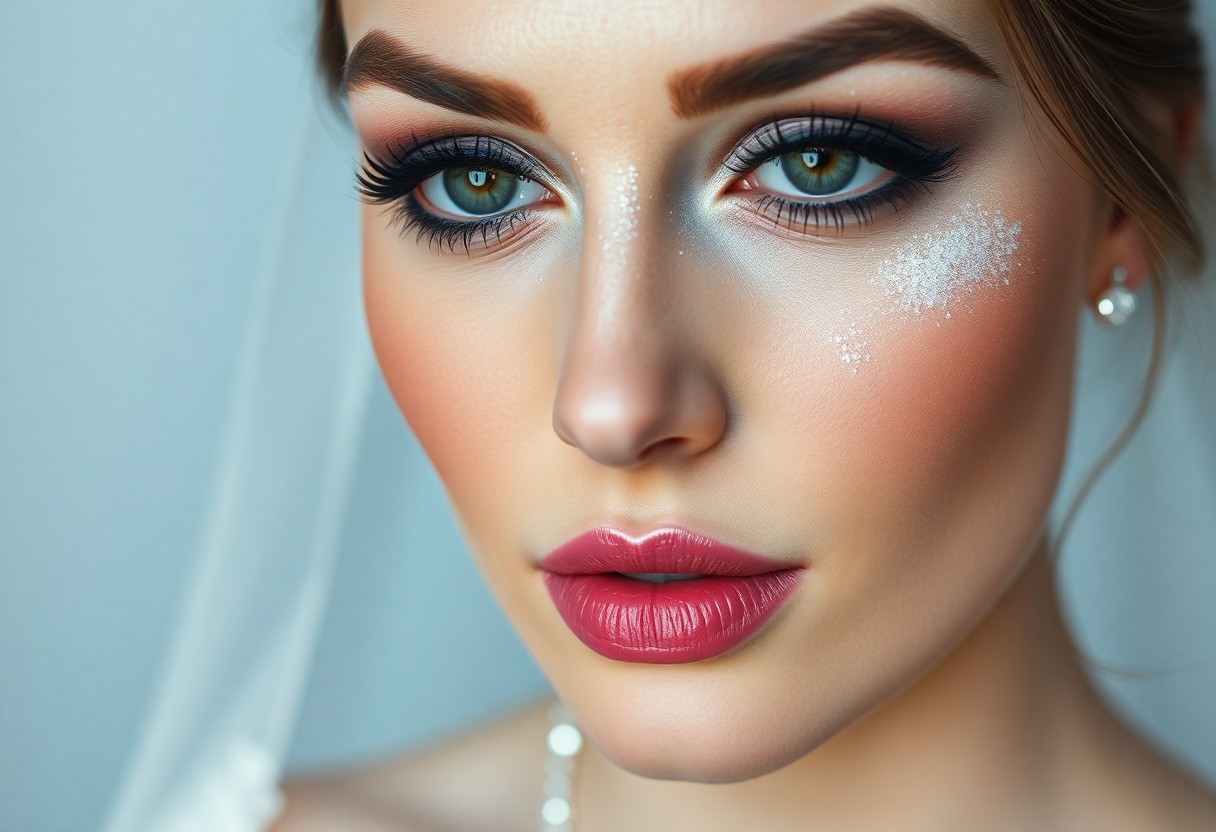
Bridal makeup should highlight your best features, so you can spot 10 common mistakes-like wrong foundation or heavy contour-and keep your look fresh, photogenic, and comfortable all day.
Skipping The Makeup Trial
You might think trials are extra work, but you need one to confirm colors, finishes, and timing so your wedding-day look suits your photos, venue lighting, and comfort for long wear.
Confirm the desired aesthetic early
You should lock in your preferred vibe-natural, glam, or vintage-during the trial so the artist fine-tunes colors, lashes, and contour to match your vision and dress style.
Test for possible skin sensitivities
You should patch-test foundations, primers, and adhesives at least 48 hours before the trial to spot reactions and adjust product choices ahead of your wedding week.
You can perform a patch test on your inner wrist or behind the ear, apply full amount, cover with a plaster, and check after 24 and 48 hours for redness, itching, or swelling; consult a dermatologist for persistent reactions.
Using Too Much Highlighter
You might think heavy highlighter creates a stunning glow, but it can look oily or overdone in photos. You should use a light hand on high points like cheekbones and the brow bone to keep your complexion luminous and camera-ready.
Prevents greasy appearance in photos
You can prevent a greasy, reflective finish by blending sparingly and pairing highlighter with matte base products; this helps flash photography capture a soft glow instead of glare.
Keeps the focus on features
You want highlight placed to draw attention to your eyes, cheekbones, and cupid’s bow without overpowering the rest of your face.
Place a tiny dot where light naturally hits and avoid broad swipes across the forehead or cheeks; choose a shade that matches your undertone and blend with a sponge or small brush for a refined, photogenic result.
Neglecting Pre-Wedding Skincare
Neglecting pre-wedding skincare can make your makeup look cakey and uneven on the big day. Start a simple routine weeks ahead: hydrate, treat breakouts, and protect with SPF so your skin looks healthy and makeup sits better.
Dehydrated skin ruins foundation finish
If your skin is dehydrated, your foundation will cling to dry patches and highlight flakiness. Drink water, use a hydrating serum, and apply a moisturizer before makeup to keep the finish smooth.
Exfoliation ensures a smooth surface
Gentle exfoliation sloughs off dead skin so your makeup sits evenly; schedule a mild chemical or physical exfoliant weekly in the weeks before your wedding.
Use a gentle AHA or BHA two to three times weekly if your skin tolerates it, and avoid harsh scrubs near the wedding. Patch-test new products, treat any irritation immediately, and stop exfoliating 48-72 hours before the ceremony so your skin is calm and makeup applies smoothly.
Choosing Trendy Over Timeless
You might love current bridal trends, but pick a look that will still feel right years from now in photos and memories.
Bold trends may feel regretful
If you chase a bold, fleeting trend, you might later wish you’d chosen a softer, more classic approach that suits you long-term.
Traditional styles age very well
Classic makeup highlights your features without overpowering them, creating timeless photos you’ll enjoy revisiting for decades.
You can pick neutral shades, precise eyeliner, and long-wear formulas to stay polished all day. Ask your artist for a soft, face-flattering finish that suits your skin tone and the lighting.
Applying Too Much Foundation
You might think more foundation hides imperfections, but thick makeup can cake and photograph poorly; apply thin layers and build coverage only where needed so your skin still looks alive in photos.
Heavy layers look mask-like
You will feel different when heavy foundation settles into lines, creating a flat, mask-like finish; use a light hand and blend outward for a more natural, flattering result.
Natural skin texture should show
You want your wedding photos to capture your real skin, so let some texture show by using tinted moisturizer or thin foundation layers and spot-concealing only where needed.
Use a hydrating primer and a lightweight foundation, blending with a damp sponge so texture peeks through; dust minimal powder and apply concealer only on blemishes to keep skin luminous in photos.
Over-Whitening Under-Eye Concealer
You might over-brighten your under-eye with a stark concealer, creating chalky patches that catch attention in photos. Choose a shade close to your skin and apply thin layers for natural coverage.
Flash photography causes white circles
You can get white rings in flash photos when concealer contains reflective pigments. Test with a phone flash and switch to a natural-finish formula to avoid ghostly circles.
Blending is important for realism
You should blend concealer so edges melt into skin, avoiding pale crescents. Use tapping motions with a sponge or fingertip to smooth and thin any buildup.
You can blend with a damp sponge, small brush, or finger taps to mimic skin texture. Build coverage in light layers instead of one heavy swipe, and buff edges outward to eliminate hard lines. Apply a dusting of finely milled powder only where creases form to set without whitening the area, then check photos with flash.
Changing Products Last Minute
You should avoid swapping makeup the day before your wedding; new products can change finish, color, or cause reactions. Stick with what you tested to keep your look consistent and stress low.
New ingredients cause sudden rashes
You might break out when a new formula touches your skin, especially near the eyes or neck; test patches at least 48 hours before the big day.
Stick to tested reliable brands
You should use trusted brands you’ve already tried so shades, wear time, and skin reactions stay predictable on your wedding day.
Try trialing full-face looks in natural light and photographing them to spot color shifts. Pack backups of key items and inform your artist about any brands you can’t tolerate so you avoid surprises.
Not Matching Face To Neck
You should blend foundation down your neck to avoid an obvious mask; mismatched tones photograph poorly and distract from your look. Test in natural light and mix shades until your face, neck, and chest match.
Visible lines look very unprofessional
You can prevent harsh demarcation lines by blending foundation seamlessly into your hairline and jawline; use a damp sponge or brush and soften edges with light strokes.
Bronzing the chest adds balance
You can bronze your chest lightly to harmonize skin tones; a soft sweep of bronzer or tinted moisturizer on your décolletage will tie face and neck together and flatter photos.
For bronzing, choose a matte, warm-toned bronzer one to two shades deeper than your skin; apply with a fluffy brush in the center of the chest and blend outward, avoiding heavy shimmer. Build color slowly, check in natural light, and set with a translucent powder so the effect lasts through photos and hugging.
Conclusion
Now you can enjoy your day by avoiding these bridal makeup mistakes: test products, balance bold features, hydrate skin, keep a touch-up kit, and trust a pro when needed so your photos and confidence shine without last-minute panic.